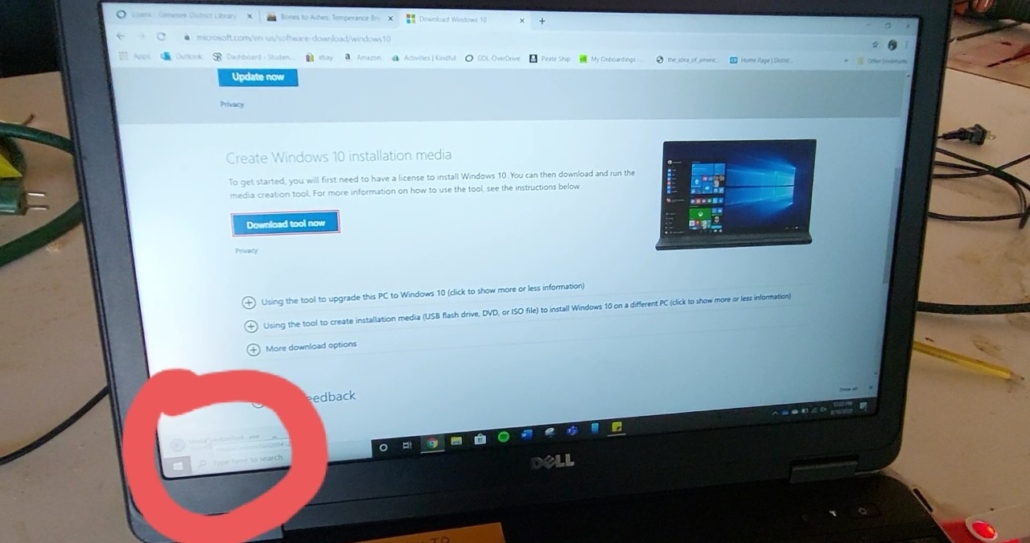
How to Install Windows on Your Dell Laptop
2. Steps for Installation:

a) Insert the Installation Media: Place the DVD in your laptop’s drive or plug in the USB flash drive.
b) Restart your Dell Laptop: After inserting the installation media, restart your device. As the laptop powers on, repeatedly press the ‘F12’ key to enter the Boot Menu.
c) Boot from Media: In the Boot Menu, use the arrow keys to highlight the option representing your installation media (either USB or DVD) and press Enter.
d) Install Windows:
- When the Windows Setup screen appears, select your preferred language, time, currency format, and input method. Click ‘Next.’
- Click on the ‘Install Now’ button.
- You’ll be prompted to enter your product key. If you have one, input it. Otherwise, choose to enter it later.
- Select the Windows version you wish to install (like Windows Home or Windows Pro) and click ‘Next.’
- Agree to the License terms and click ‘Next.’
- Choose ‘Custom Install.’ This allows you to select where you want Windows installed.
- If you’re setting up a fresh installation, delete existing partitions to create a new one for Windows. But remember, deleting partitions will erase data.
- Select the partition where you want to install Windows and click ‘Next.’
e) Setup Process: Windows will now copy and expand files, install features, and update files. This might take a while, so be patient.
f) Personalize: After installation, Windows will prompt you to select a region, language, and connect to a Wi-Fi network. You’ll also set up an account, password, and a few other preferences.


